
The Basics of Photographing Textiles and Textile Art

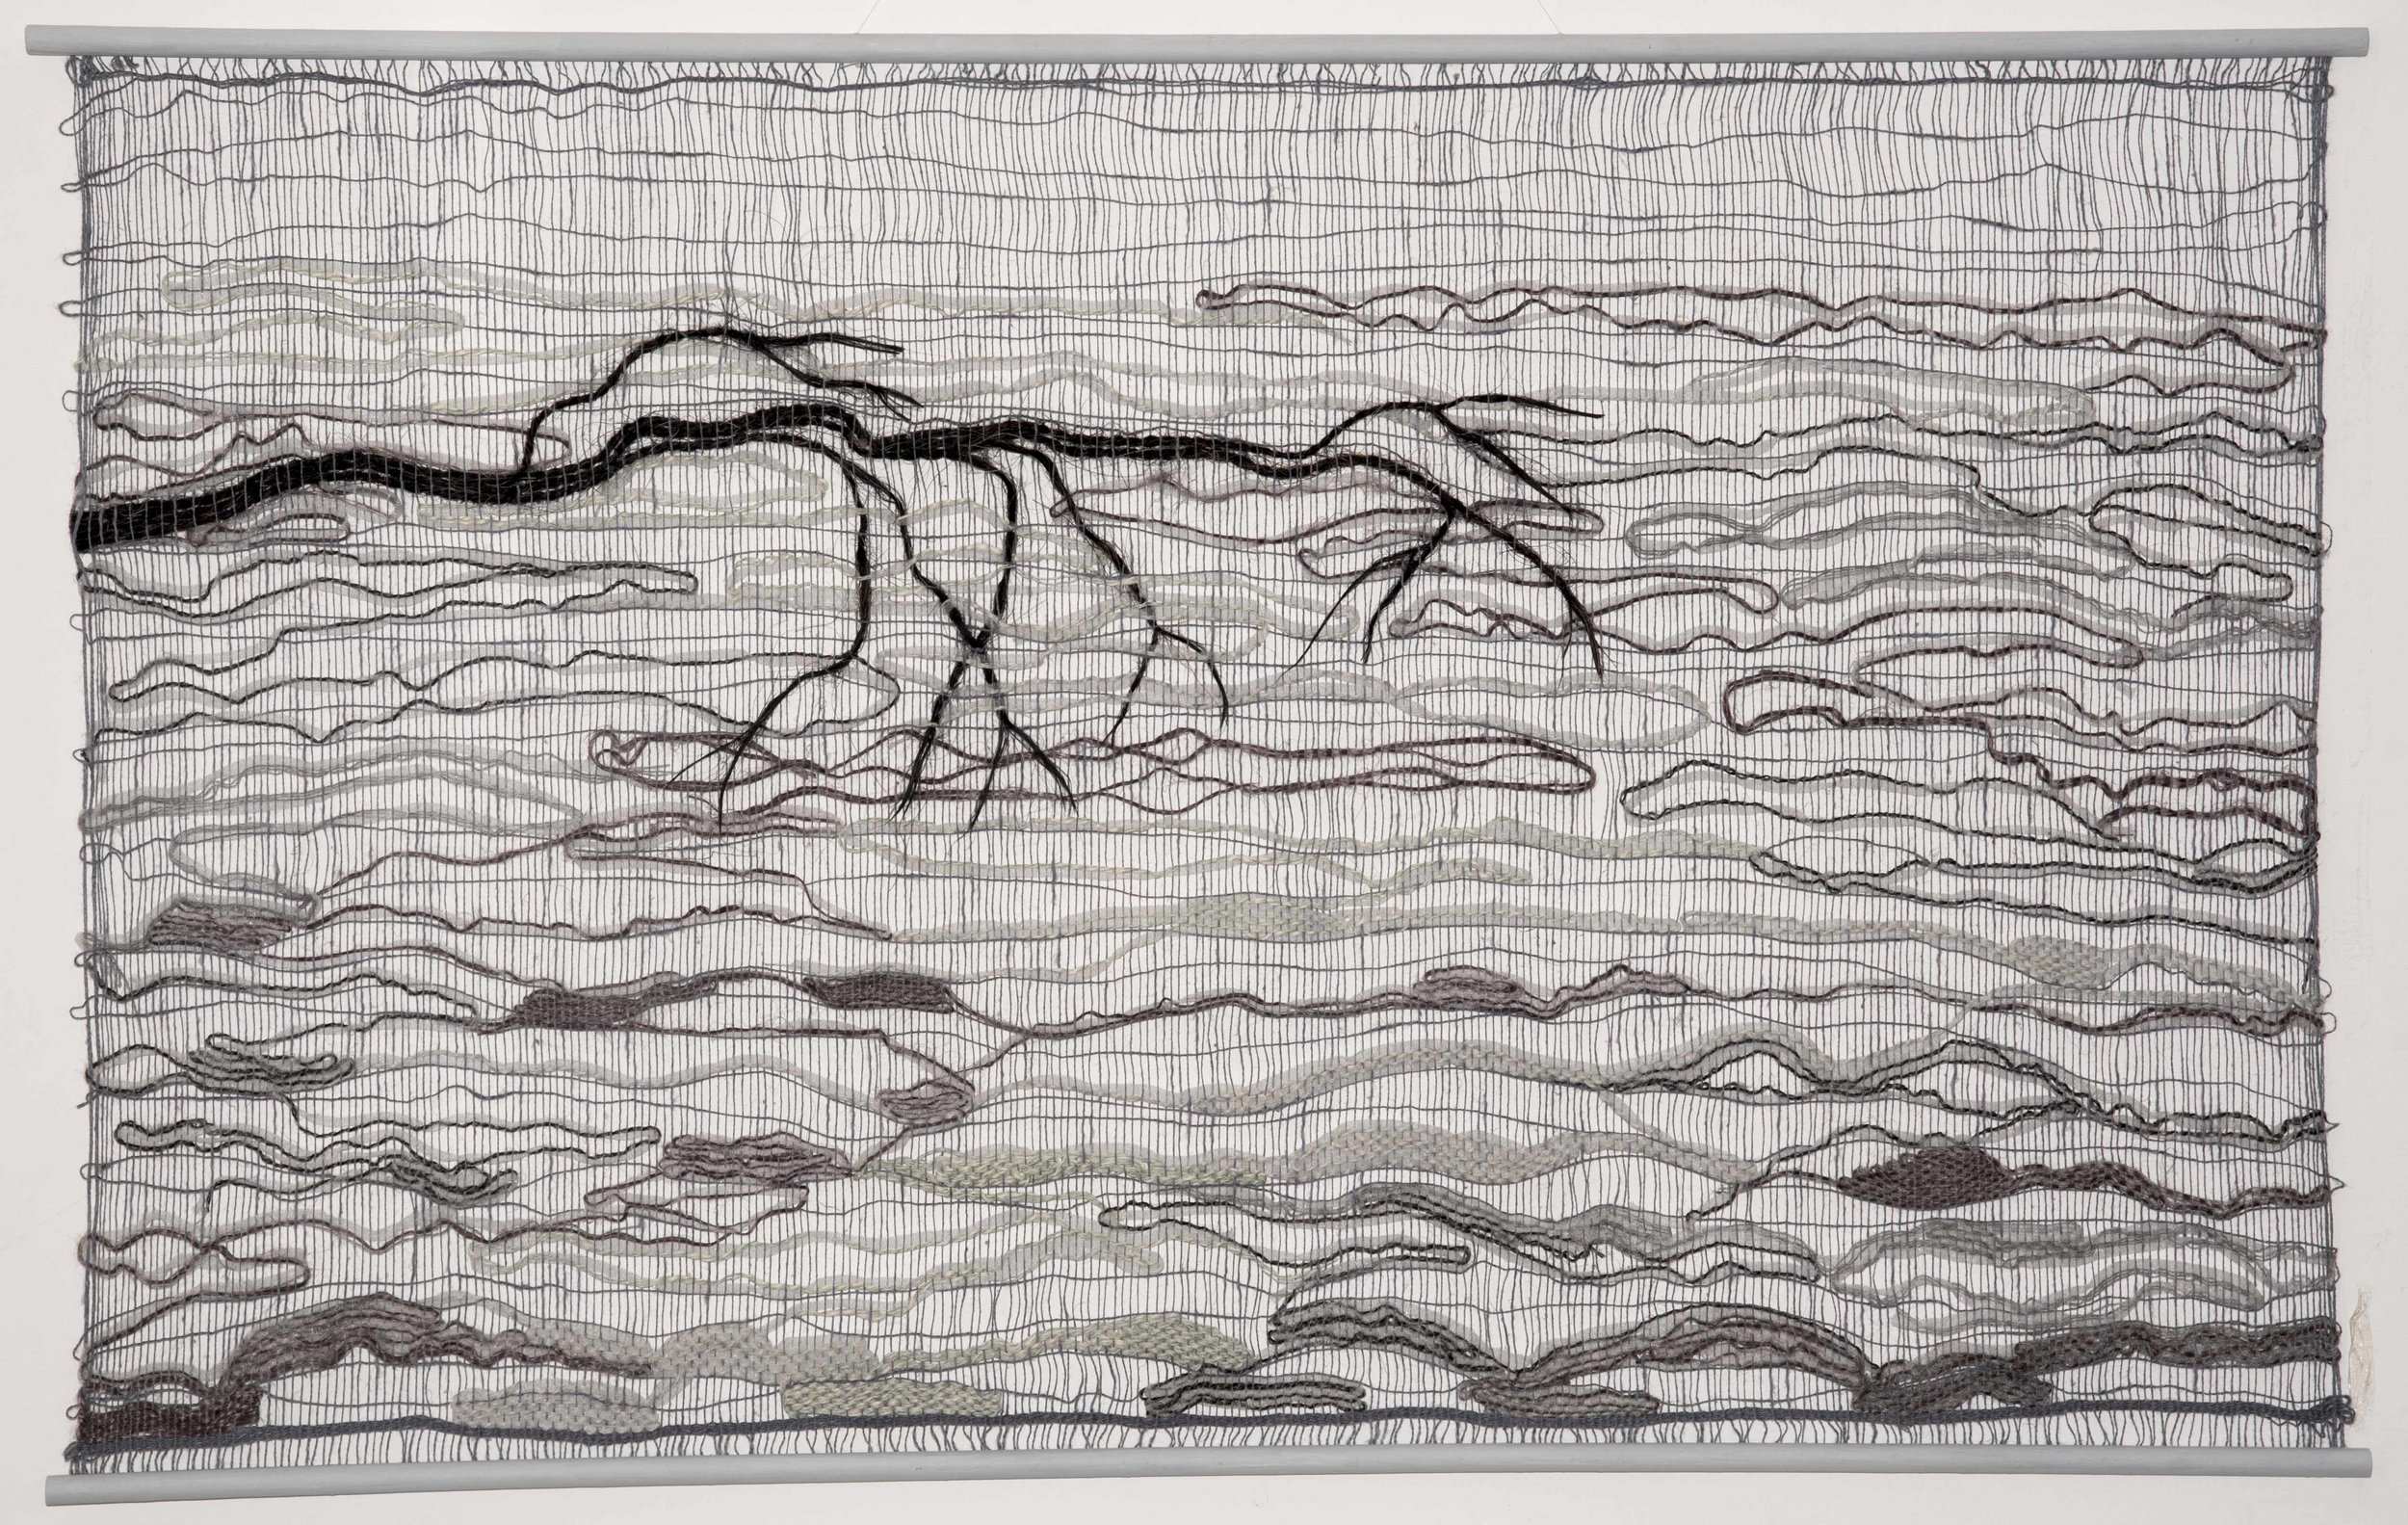
Pells Fog by artist Jackie Bennett. created using an open weaving technique, woven in cotton, horse hair and other materials
I first came across art textiles whilst working with the wonderful Claire Benn on her website. I've since worked with Susie Koren, Amelia Leigh and Deborah Harwood and loved the work
Here’s some tips on how you might photograph your own textiles, followed by how I photograph textiles in my studio.

The tripod in the foreground (fabulous for everything) cost over £100.00. The one in the background, just as good for photographing textiles on a wall as her high-rent sister, cost £3.50 at a car boot sale
You need a tripod
If you don’t have a tripod go and buy one/order one/get yourself to a boot sale or have a look in your local Friday ad newspaper
Why is a tripod essential for photographing textiles?
If you have no lighting equipment at all you’ll be using natural light. While natural light outside is plentiful and, if you can find the right spot, very lovely, you may want to photograph your work inside where natural light is generally much more limited.
In low light, in the absence of additional artificial lighting, you will need a slow shutter speed. In the photographs below I was using between 1/8 and 1/5 of a second. Pretty… darn…slow.
NOBODY can hold a camera rock steady for an 1/8 of a second Feel free to contact me here if you can and I will write a blog all about you because you’ll be of vast physiological interest, largely because of the strength and size of your arm muscles.
So, a tripod is essential for photographing with natural light inside or you risk your blurring your photographs as the camera moves during exposure.
Direction of lighting
Because this blog is about the basics, let’s keep it simple.
Put your textiles opposite a window. This will ensure even lighting across the textile. As a note, I am lucky enough to have lovely, large white walls (no colour cast). If you can find a room with the lightest, palest walls possible you lower the risk of colour bouncing off the walls and spoiling the purity of your textile’s colours.
I should really have removed that bright blue and orange poster from the right hand side. Do as I say, not as I do.

The bright, pale walls also help bounce gentle, even light all over your piece.
Where to put your tripod

Imagine a camera on top of the tripod
Your tripod should be far enough back so that you can get the whole of the piece in your viewfinder without having use a wide-angle lens. A wide-angle lens will cause distortion, a stretching out of the far corners of the textile.
The camera should be level with the middle of the textile (you’ll have to imagine a camera on top of this tripod, my camera was taking the shot).
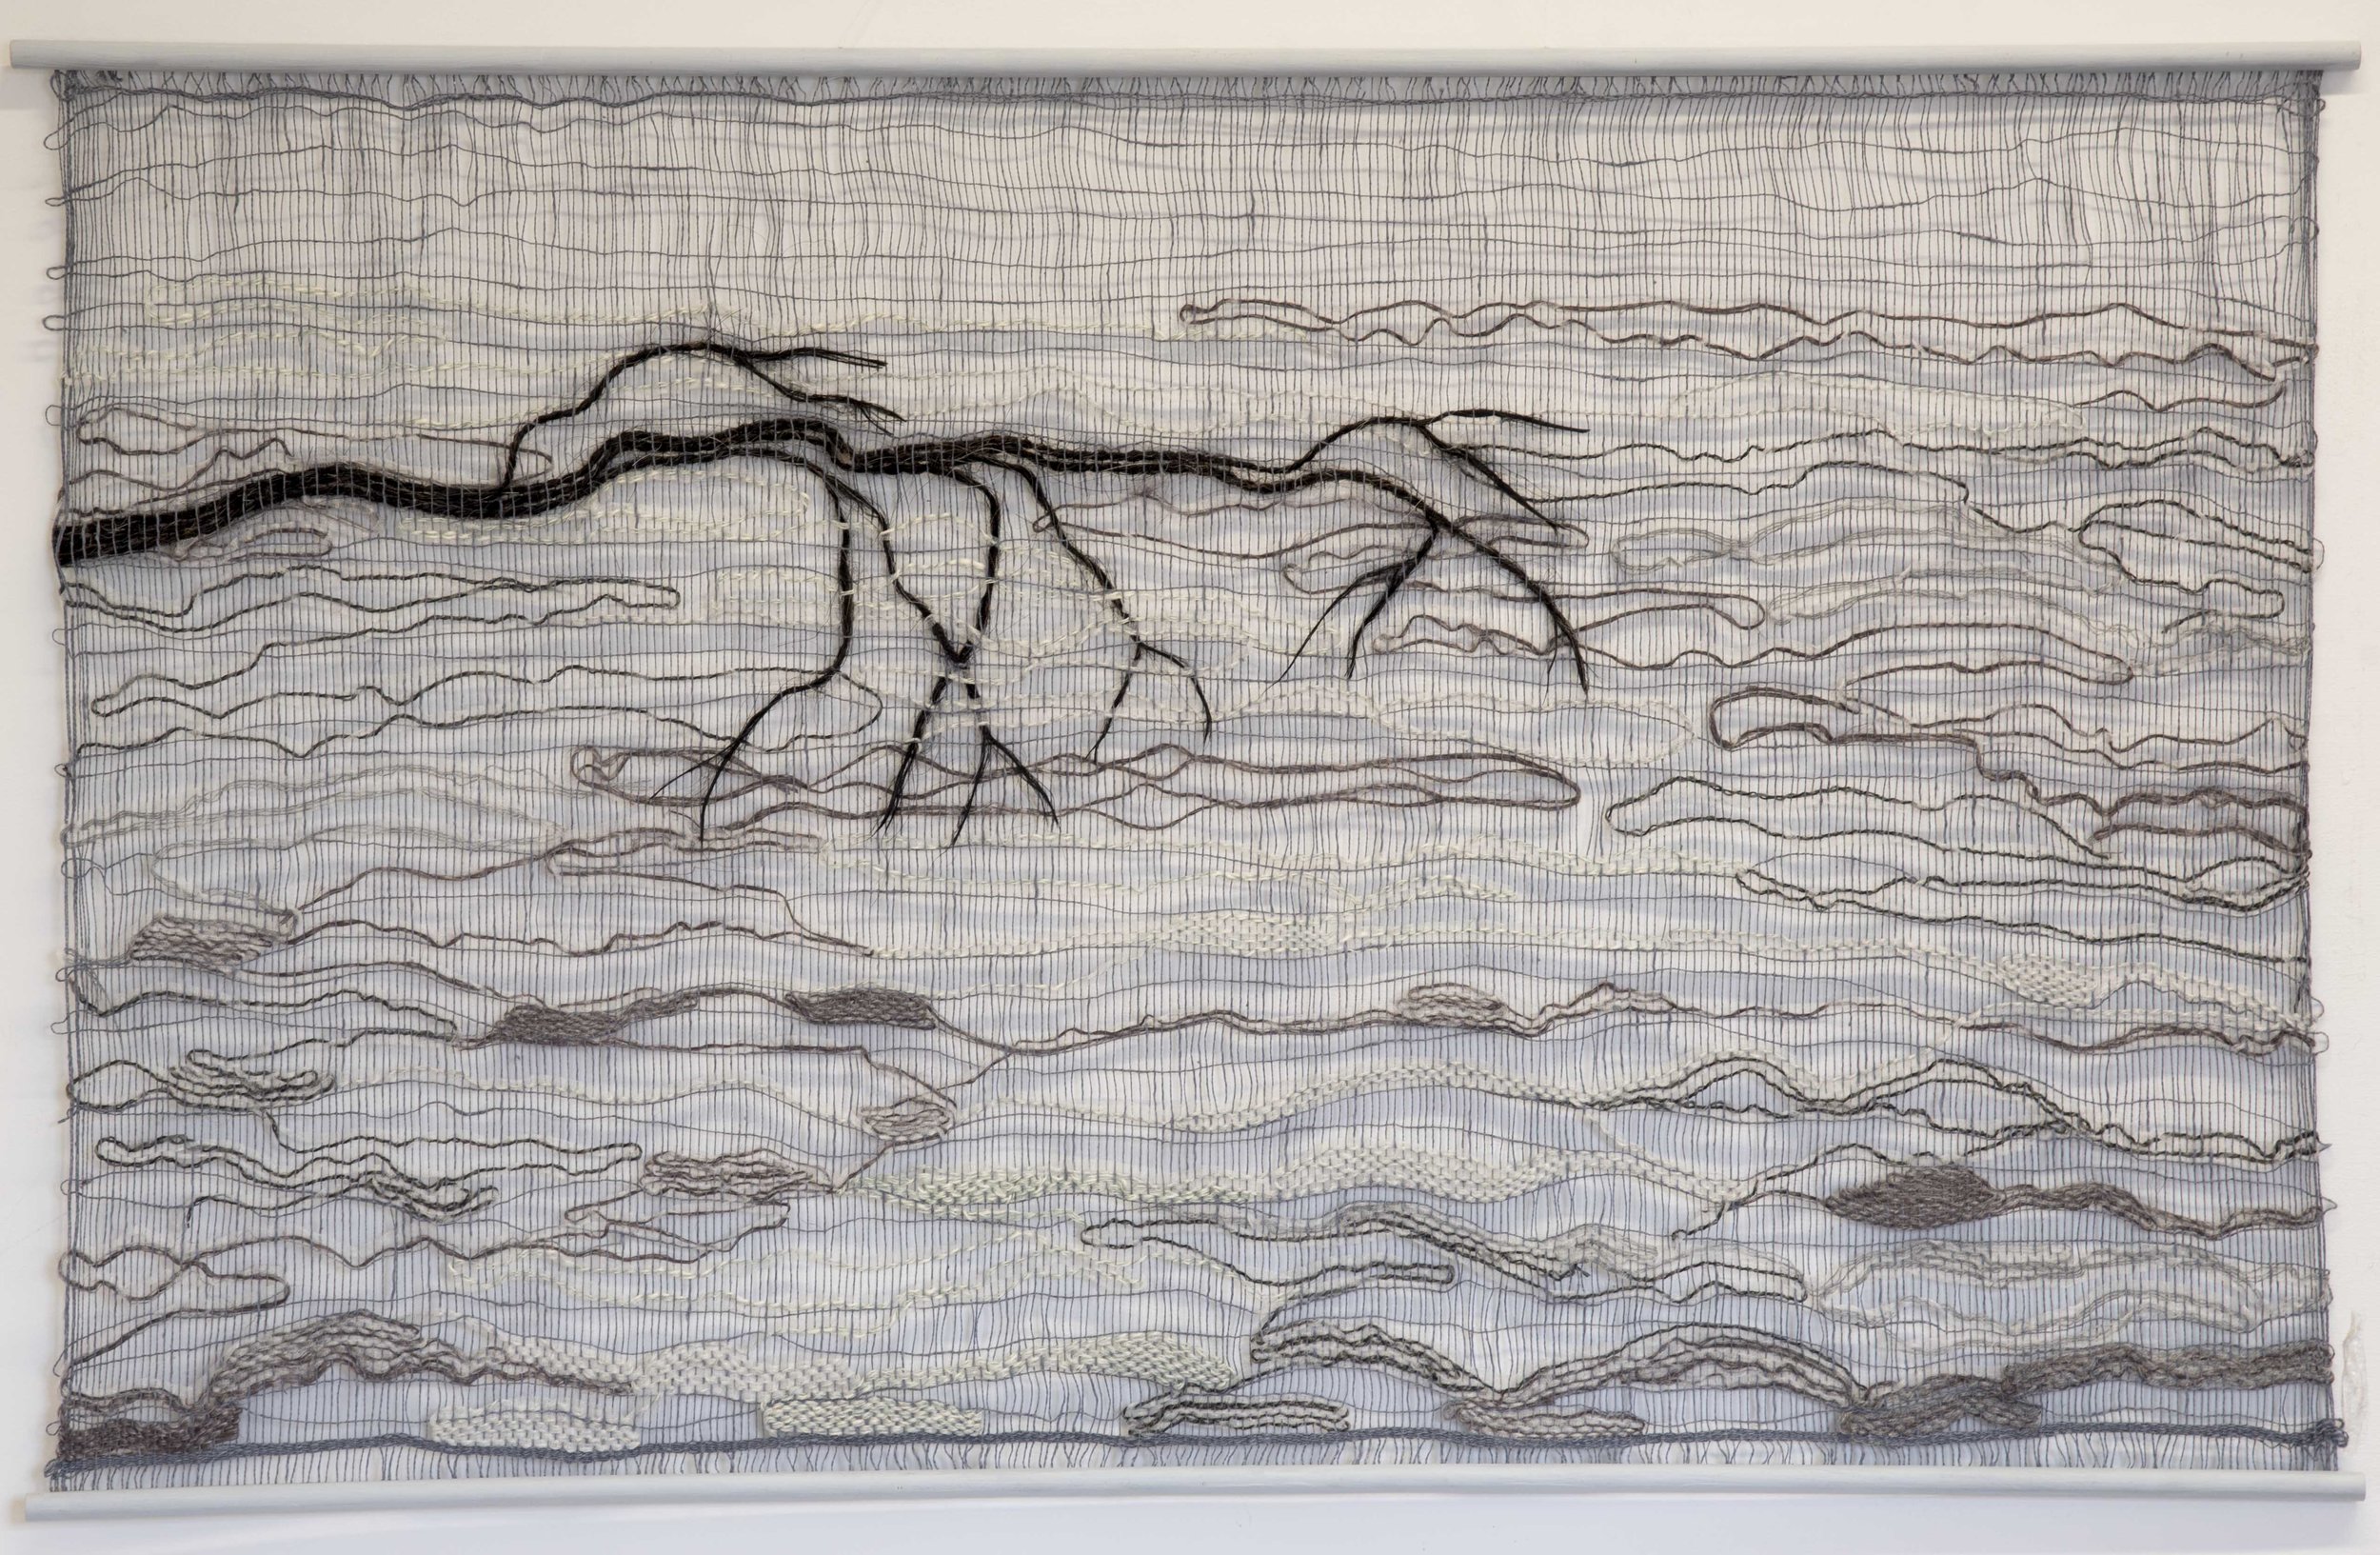
Natural Lighting (daylight only)
This shot was taken with the light from the window. Ideally I’d want the textile to be closer to the window than it is in my studio to achieve a little more contrast, and therefore texture, within the textile.
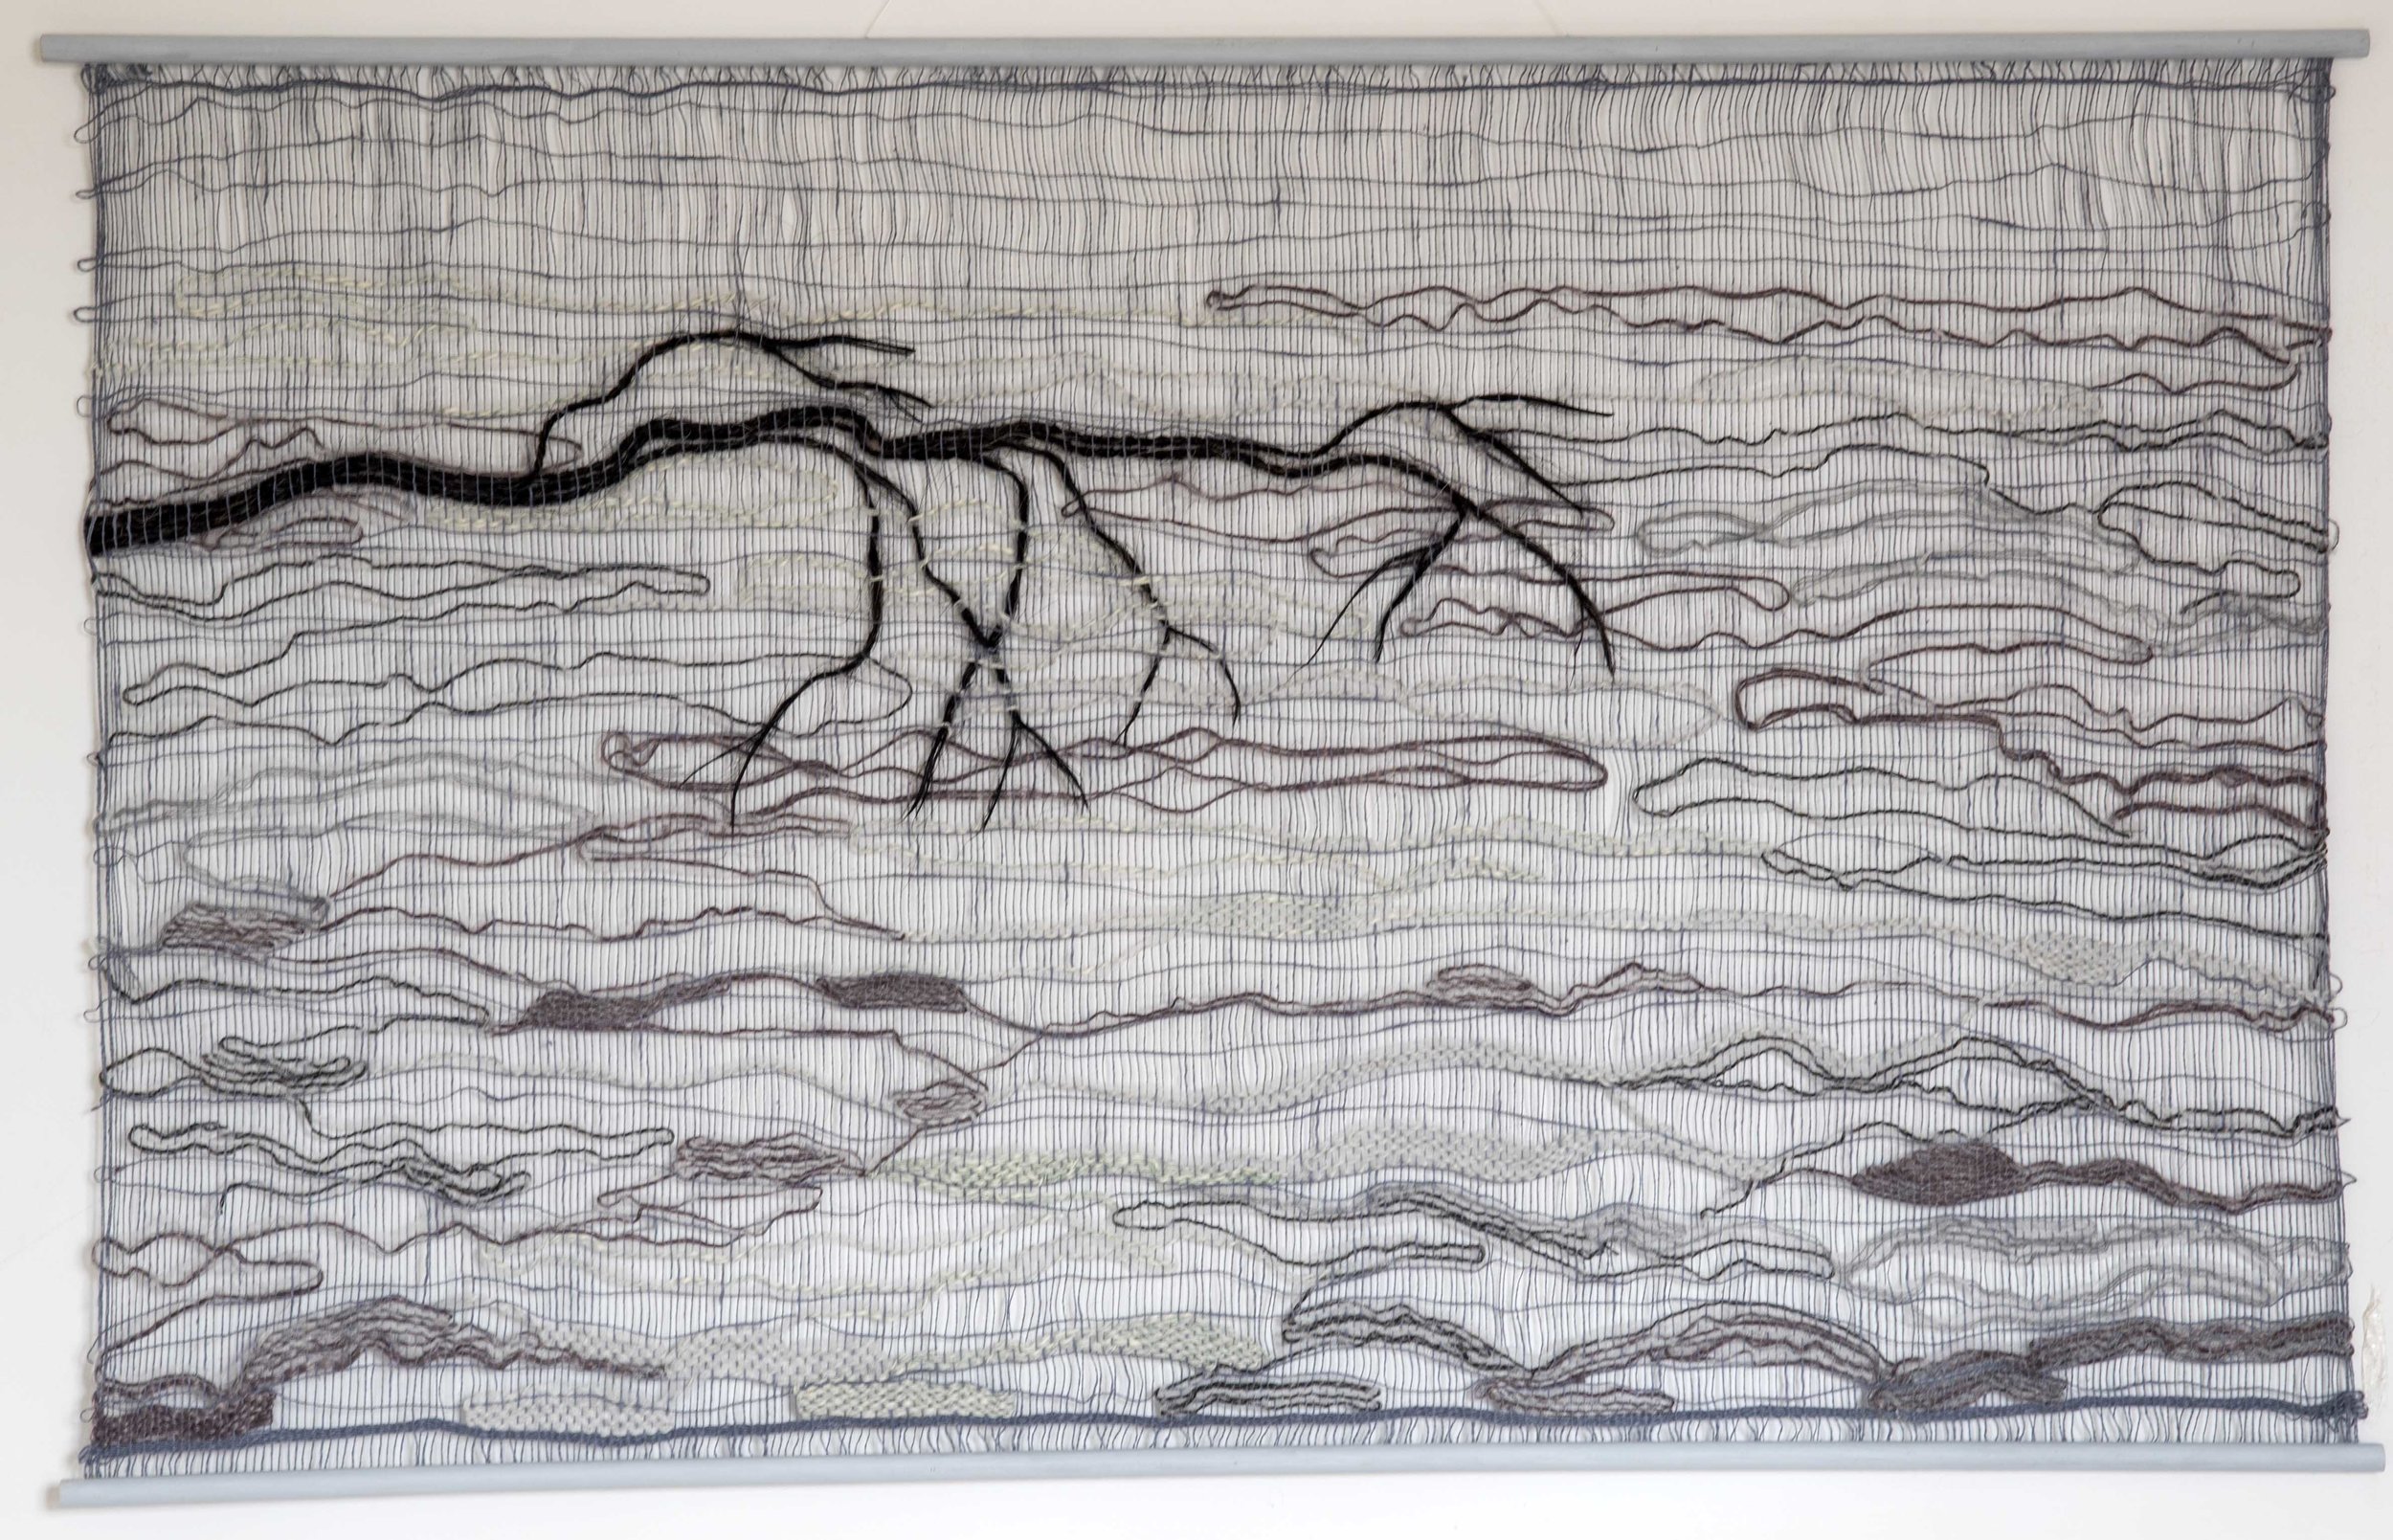
Daylight and Room Light (Tungsten strip lighting)
When I put the room lights on in my studio the evenness of the lighting was compromised and there’s unpleasant colour cast along the top of the textile.
On-Camera Flash
The lighting is more even than the daylight/tungsten light combination but the flash has flattened the detail in the piece making it look more like a painting or a graphic than a textile.
Textiles will look different in different rooms and under different lighting conditions. It’s good to aim to replicate the kind of situation where your textile might be displayed.
Remember
Use a tripod
Place your textile exactly opposite a window.
Try to remove anything near the textile that has a strong colour in it.
Directional Studio Lighting
When I shoot textiles I use studio flashlights for the following reasons.
They are a powerful enough source of light (daylight temperature) that I can set the camera to a fast shutter speed (125), I don’t have to use a tripod, there won’t be any blurring.
The amount of light produced by the studio lights means I can use apertures that will render the optimal degree of crispness, from the front to the back of the image (typically I’m using F8/F11).
I can move the lights around so that I can create a sense of texture by gentle sidelighting.. This brings out the shape and countours of the materials used in the work. Essential in a textile.
Using studio light I can not only control the direction of the lights but also the intensity of it by moving the lights nearer to, or further away from, the textiles.
By placing translucent material in front of the lights I can soften the lights creating a gentler illumination. which is useful for textiles with a subtler range of tones.

At an angle
By placing the lighting at 45 degrees to the textile but far enough away to ensure a softness, rather than a harshness of texture, I can bring the materials used in the textile to life.
Click to enlarge Amelia Leigh’s work below and see how the texture of the materials used has been rendered by the studio lighting. The full-size work is on the left, close-up detail on the right hand side.
Photographing Texture
Herein lies the difference between photographing a painting where the surface texture is minimal, and a textile where the texture of the materials used, the contours of the piece, are essential elements in the work and must be realised in any photograph of it.
Using soft studio lighting at an angle (see photo below) I can achieve the subtle shadowing that renders texture in a pleasing way.


Thank you to Jackie Bennett for the kind loan of her beautiful textile for this blog.